App Control for Business for regular humans - Part 2
Customising App Control for Business for your organisation
App Control for Business (ACfB) for regular humans
Part 2 - Adjusting it for your organisation
In Part 1 we created the base and supplemental policies that will be a good starting place for you on this ACfB journey. The next steps are to help you continue to add additional Supplemental policies to make ACfB work for you.
Allowing applications
Using Google Chrome as an example, download their enterprise installer from Google Enterprise. Create a new Supplemental policy in ACfB Wizard, and continue through to the File Rule page. Click ‘Add custom’.
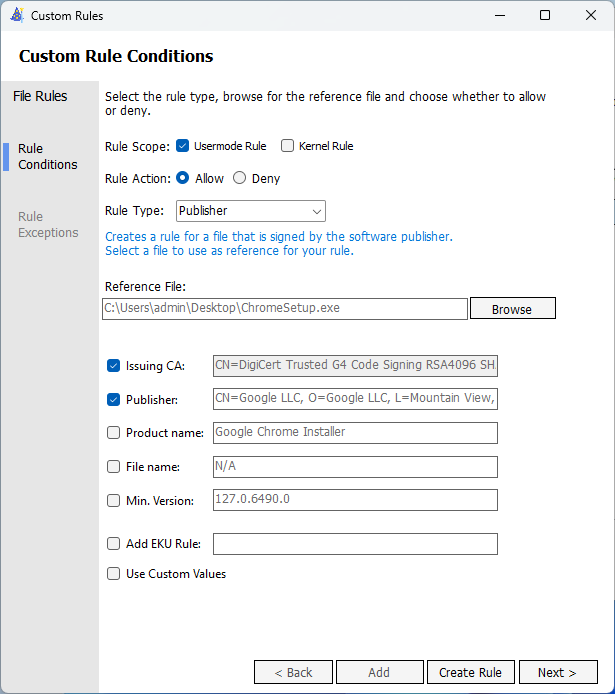
From here, select Publisher from the dropdown. You can then point to the executable file and approve at the Publisher level. This will allow any file signed by this Publisher to run. This can be used to help get other applications running whilst using ACfB with some relative ease, and be a solid foundation for good operational security. Using this technique also will help with allowing applications such as Google Chrome auto-update if they stick files in unexpected locations. There are problems with this that we will address in the next part. Primarily, not every file used by software developers is signed. Sometimes, the dependencies they rely on get blocked. This is part of our troubleshooting step though, so lets move on to blocking applications.
Blocking applications
Open ACfB Wizard, and this time select ‘Policy Editor’. Find the AllowAll.xml placed in C:\Windows\schemas\CodeIntegrity\ExamplePolicies. Change the name to ‘Block - Quick Assist’ and save to a different location. Click Next. When you are at the ‘File Rules’ page, click ‘Add Custom’.
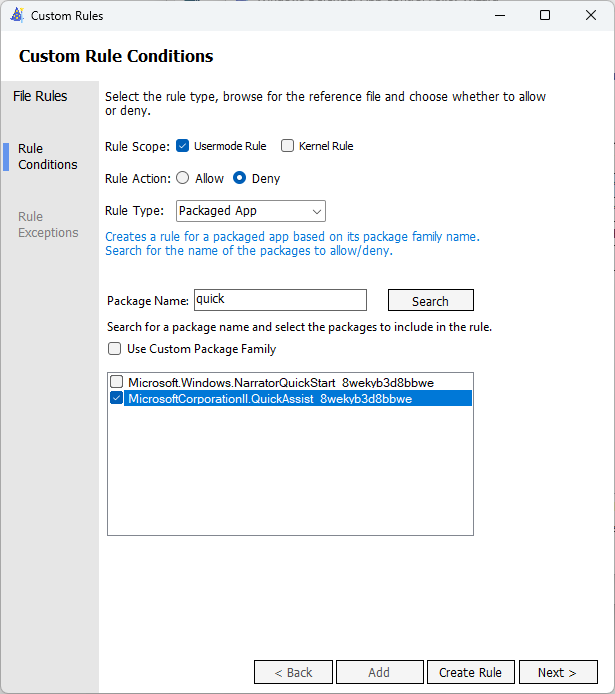
Change the Rule action to ‘Deny’, the dropdown to ‘Packaged Apps’ and then search for the phrase ‘quick’. In the list that appears, select ‘MicrosoftCorporationII.QuickAssist_8wekyb3d8bbwe’. Continue through the wizard until it’s complete.
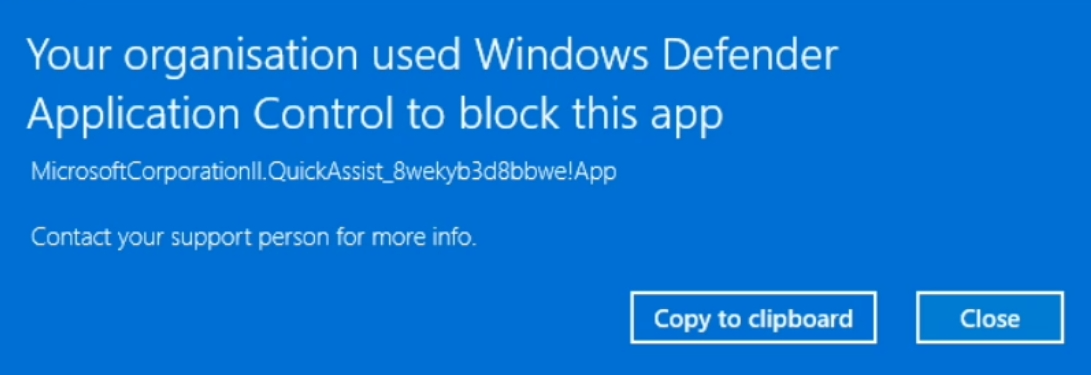
This has created an additional Base policy. This works alongside the one you made in Part 1, except it explicitly denies the Quick Assist app - which is a good move in itself. The rules of this file essentially allow anything except Quick Assist. This sounds terrible, but when paired with your other Base policy and its supplemental policies it works how you would expect. This is because in ACfB, explicitly denying something overrules any allow policy. Allowing everything first is required in this policy, otherwise through its own rules it would deny everything - including Windows. Drop the CIP file for this alongside your other in your test machines Active CiPolicies folder and opening Quick assist will result in the below.
The final part in this series will go over troubleshooting the technology, and maintaining it going forward. Click here for Part 3!